Building the bean tunnel
Over the years of our opening the garden we have had so many comments about the hazel tunnel we build every year or so (depending on the winter weather) that I thought we’d give you a quick insight into how it is constructed.
First of all, harvest your hazel poles. We are fortunate in having two areas from which we can select just the right size sticks, although those in our new field will need quite a few years of management before they give a useable crop.
Here’s Sue, with trusty Silky saw, down by the river.
Make sure you have enough and they are long enough
Then assemble your tools;
Something to make good deep holes in your soil

Lots of good string – here we have sisal baler twine

and two people.
Work out how long the row needs to be and make a start, keeping the distance between the opposing sticks as close the same as possible.
Here we are after the first half a dozen (out of 27 pairs)
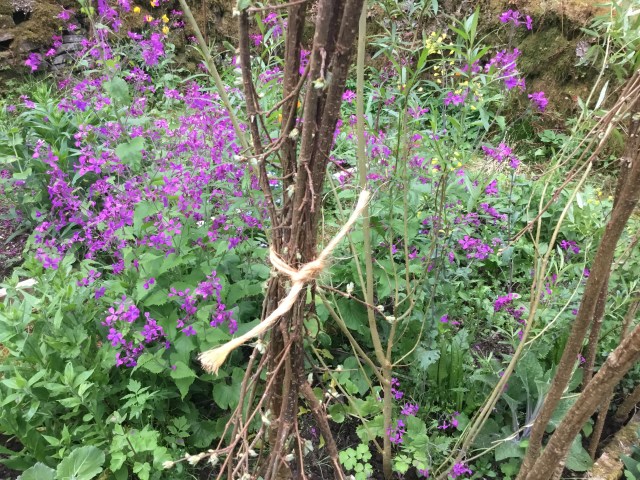
You’ll see later the process of matching up the two opposing sticks works.
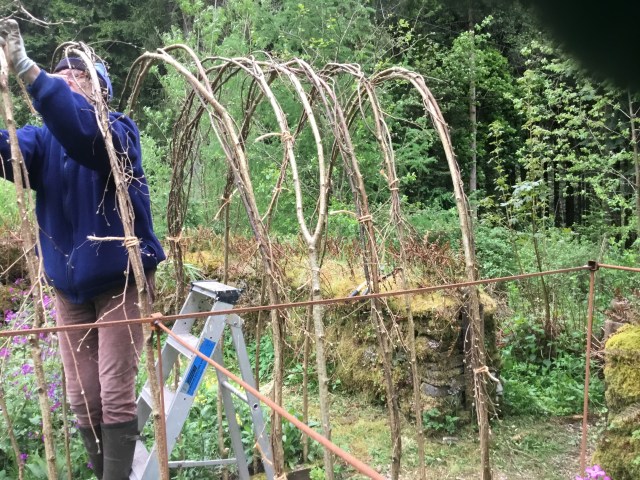
Tie in the two sticks to make the arch, making sure you keep a constant height all along – it will make things easier later.
Here we have about half of the arches complete.
and this is how you make them
Speedy aren’t we??
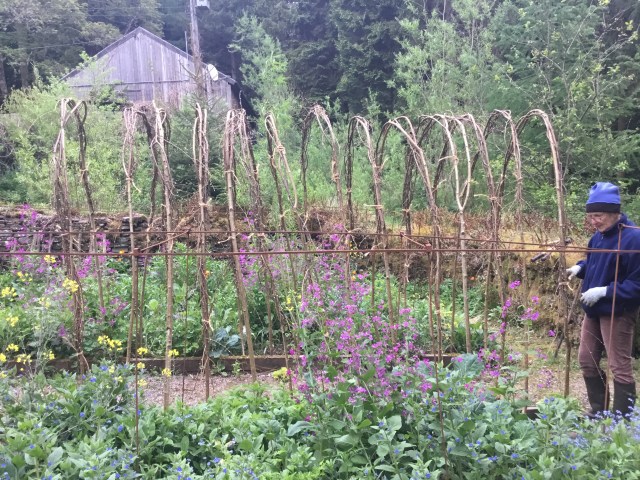
Now it’s just a case of tying it all together. First with long straight sticks along the apex to make sure the spacing is correct.

then the all important side sticks, woven in (it’s not that easy) to provide a really solid framework.

And, in the immortal words of Blue Peter, here’s one I made earlier. Actually, WE made today.
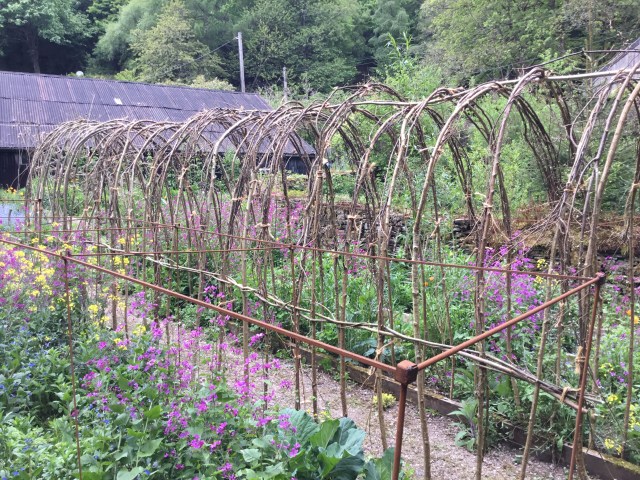

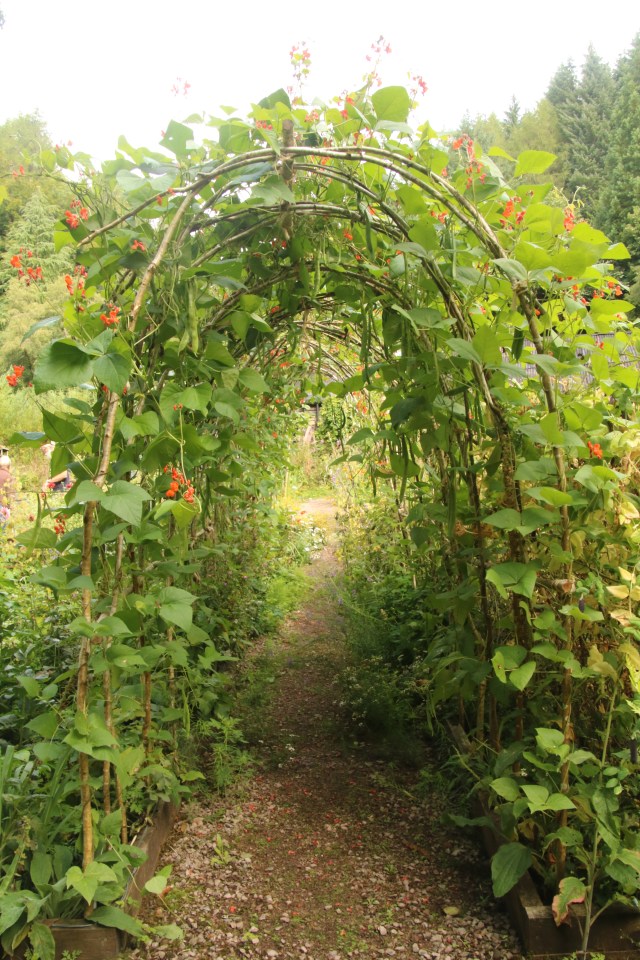
Tunnels like this have survived snow, rain and high winds and provide a lovely, easy way to pick your beans.
Now all that’s needed is a bit of warmer weather to plant the beans!
Here’s what it looked like in Summer 2018